


 5:10 AM

Computer Tips From A Computer Guy |

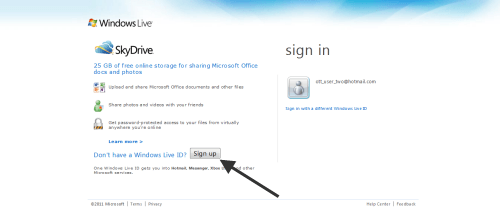
| Share a Word 2010 Document Simultaneously with Multiple Users on Windows Live Skydrive Posted: 27 Feb 2011 03:22 AM PST You've no doubt seen it advertised either online or on television, Microsoft’s Windows Live product that allows two or more people to edit one Word document at the same time. It works just as advertised, though the process is anything but easy, simple or streamlined. It all comes down to everyone involved obtaining an account with Windows live, then creating groups on Skydrive. Here's what you have to do. First, go to Windows Skydrive and create yourself two accounts, one for you, and one for the other person who will be working on a document with you.
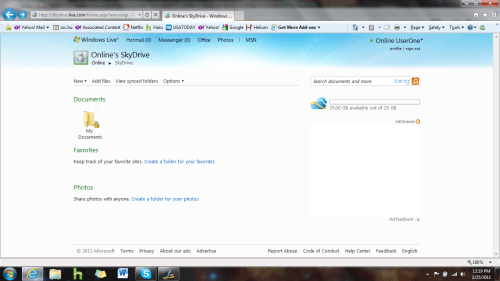
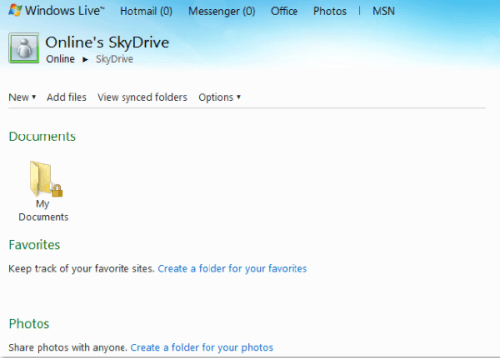
For this example, we've created two accounts: OTT_User_One@hotmail.com and OTT_User_Two@hotmail.com. When you log into Windows Live, you get the following screen:
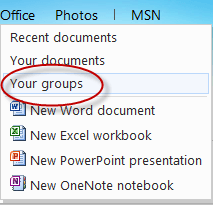
Hover over the Office menu at the top of the page, and wait for the drop down, then click on the Your Groups menu choice.
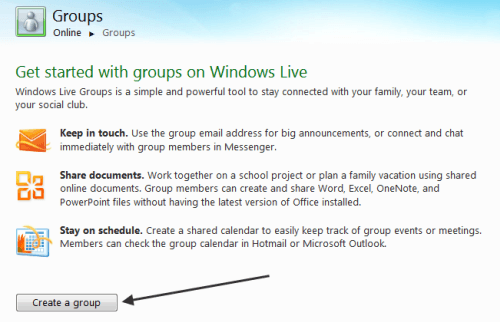
When the Groups page comes up, click on the Create a Group button:
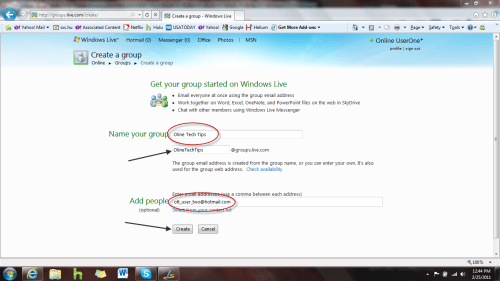
On the Create a group page, fill out the fields to create your new group, and then add the User ID for the other person that will be editing the document as well. Note: When you type in the name of your group, Windows Live creates the e-mail address for it automatically.
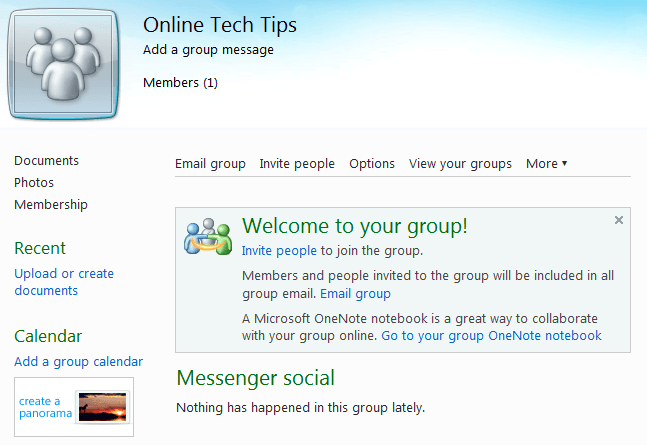
Click on the Create button when you've finished filling in the necessary information. You should get a few progress update screens, then this one:
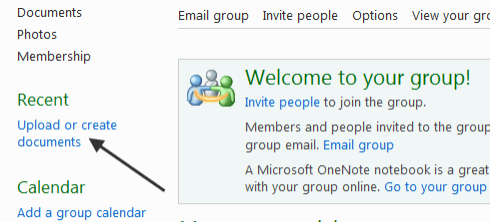
Next click where it says, Upload or create documents:
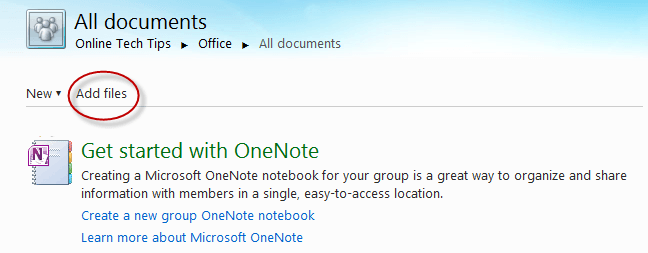
On the next screen, click where is says Add files:
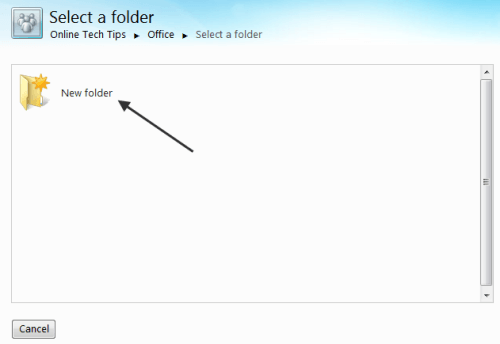
Then on the next screen click where it say New folder:
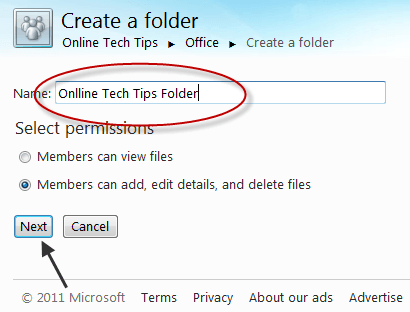
One the next screen, type in a name for your new folder and then click the Next button (leave the permissions default to allow members to add, edit and delete):
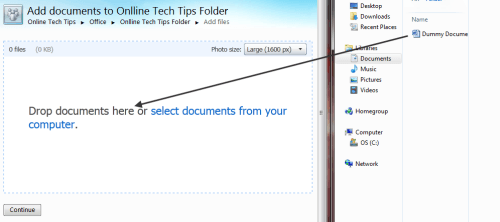
The next screen is a little tricky, first open your file manger, then move to an existing Word document that you intend to work on with another person, then make your file manager fill half the screen, while the other half of your screen is the next screen in the SkyDrive process. It should look like this:
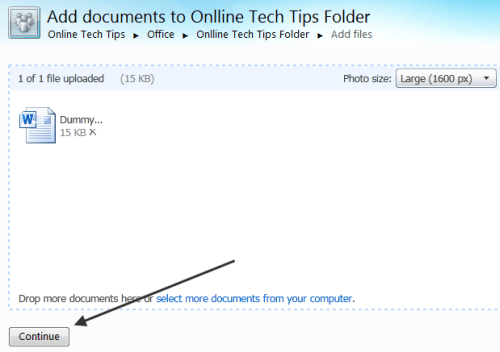
Click on the file you wish to drag, hold down your left mouse button and drag the icon over to where it says Drop documents here, and then let go. This is how you upload your documents to Skydrive. You should get this when it's done:
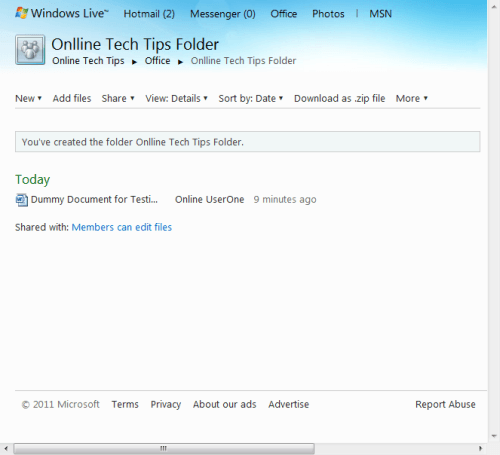
Click the Continue button and you should get this next screen:
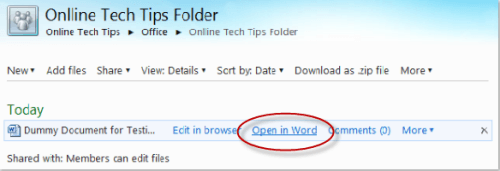
Hover over the file name and you should get this pop-up menu:
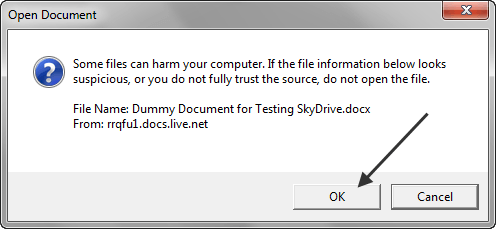
Click where it says Open in Word: You will likely get the following warning:
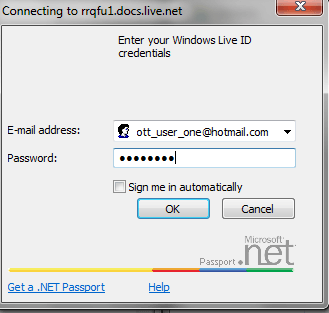
Click on Ok if you wish to proceed. Doing so will cause Word to launch, and for you to be prompted to log in again, even though you already are:
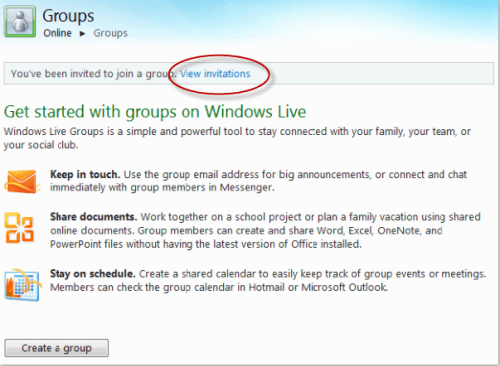
Once you log, in you will able to work on the Word document that you have opened. To work on it simultaneously with another use, log in to Windows Live SkyDrive on another computer as the other user; when you do, you should get this as your initial screen:
Next, hover over the Office menu choice:
Once you click Your groups, you should get this screen; note where it says Your invitations.
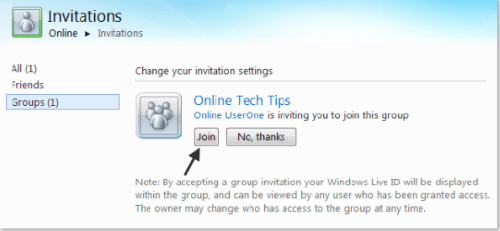
Clicking on Your invitations, brings up this next screen:
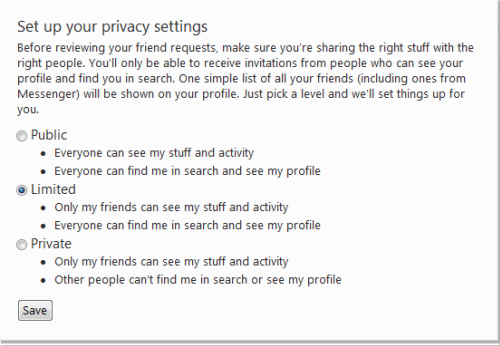
Once you click on Join, you get this screen:
Leave it with the default and click the Save button. You'll then get this next screen:
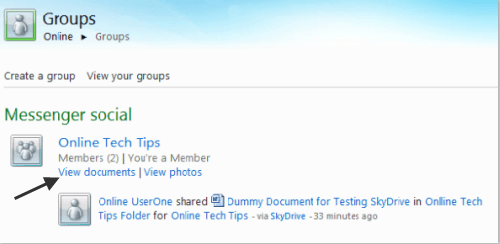
Now that you're a member of the group that your other user set up, all you have to do is find it, and open it in Word. To do that, highlight the Office icon again, and once again click on the Your Groups choice; you should get this screen:
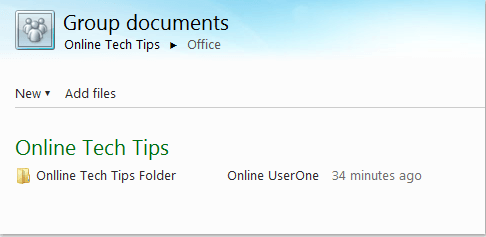
Click on the View documents choice to see the Online Tech Tips shared folder. You should see something like this:
Double click on the file name to open the Online Tech Tips folder. You should get the following screen, after hovering over the file name:
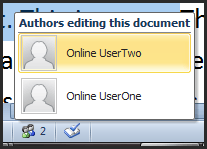
The rest of the steps for opening the document in Word are the same as for the first user. Once you have both users working on the document, you should get a message that pops up briefly telling you that another user is editing the document, and if you look down at the bottom of the Word screen, you should see a little icon showing multiple users, and in this case, the number 2, to describe how many others are working on it.
If you click on the icon, you'll get:
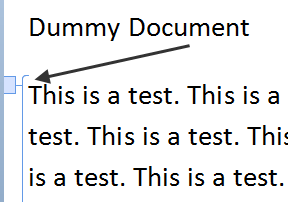
Also, you should be able to see some brackets around the text that the other user is editing:
Clearly doing all this has been a lot of work, luckily you only have to do it one time. After that, one or the other of you simply drags and drops a document into the group that was created and then anyone that belongs to that group can open it in Word and work on it simultaneously with others in the group.
Related postsCopyright © 2007 Online Tech Tips. Aseem Kishore (digitalfingerprint: a59a56dce36427d83e23b501579944fcakmk1980 (74.125.94.81) ) Post from:
|


| You are subscribed to email updates from Online Tech Tips To stop receiving these emails, you may unsubscribe now. | Email delivery powered by Google |
| Google Inc., 20 West Kinzie, Chicago IL USA 60610 | |
0 comments:
Post a Comment