Computer Tips From A Computer Guy |
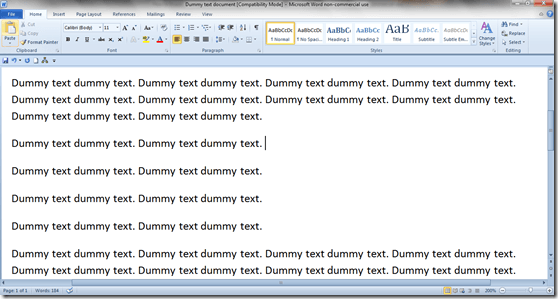
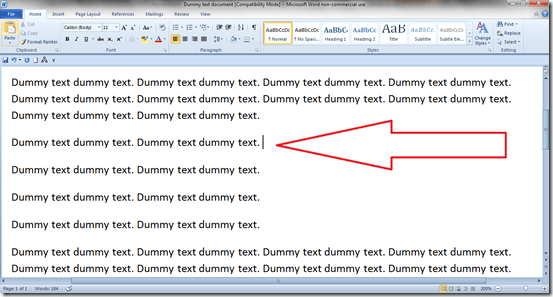
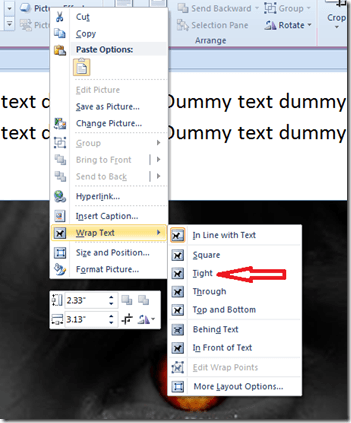
| Import, Arrange and Present Graphics in Word 2007/10 Posted: 22 Feb 2011 03:43 AM PST Despite Microsoft's attempts to make inserting and manipulating graphic images in Word documents easier, many people still find it a rather daunting experience, especially the part where you try to make your image sit in your document where you want it. This is especially true for Mac users who find it difficult to understand why Microsoft puts PC users through so much work to accomplish the same things they do so easily on their Apple platform. The best way around this problem is to follow a simple regimen for most of your graphics and only vary from it if a situation warrants. The simplest and best approach works like this: First, create yourself a test document with a bunch of dummy text in it. Note: It's almost always best to add your text, then the graphics, rather than the other way around because it just works easier in Word. Next, go to a place in your document where you'd like to insert a graphic image by clicking on it. That makes it your current position. Note: Graphic images can be photographs, cartoons, avatars; pretty much anything saved in a graphics format; e.g. .jpg, png. etc. For this example, we're going to place an image in the place where we've left room for it. To make this happen, click on the Insert menu choice on the main ribbon, then click on the Picture icon. Next, use the file manager to find the graphic you're after; double click on it, or highlight it and then click Insert. Note: You can also copy graphic images from other documents, the web etc., then just paste them into your document where you want them. The graphic will appear in your document at the insertion point, but odds are, it won't be the right size or in the right place; to fix that, click once on your image with your right mouse button, then click Text Wrapping, or Wrap Text, depending on your version of Word, and then choose Tight. Choosing Tight will allow you to place your image pretty much anywhere in your document you like. Next, grab one of the corner handles and size your document. Then, click on the image with your left mouse button and hold it down while you move it to where your want your graphic placed in your document. Next, double click on the image to bring up the Picture Tools ribbon. Note the preformatted picture styles in the center of the ribbon and the down arrows for accessing more choices below. Choose the one that best suits your taste. Then, once again move or size your image, if need be, to where it looks best. And that's pretty much it. Sure, you can try all those formatting options under the Picture Tools menu, if you have time and patience, but if you just want to grab a graphic and make it work in your document, this is the easiest way to go.
Related postsCopyright © 2007 Online Tech Tips. Aseem Kishore (digitalfingerprint: a59a56dce36427d83e23b501579944fcakmk1980 (209.85.224.80) ) Post from: |
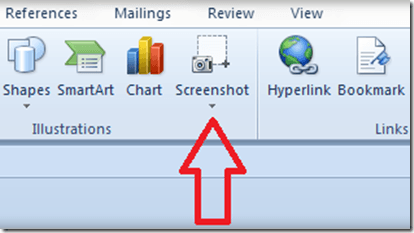
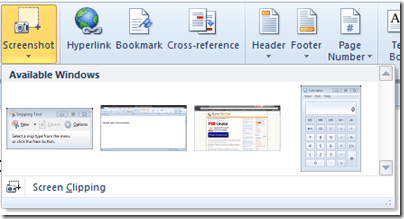
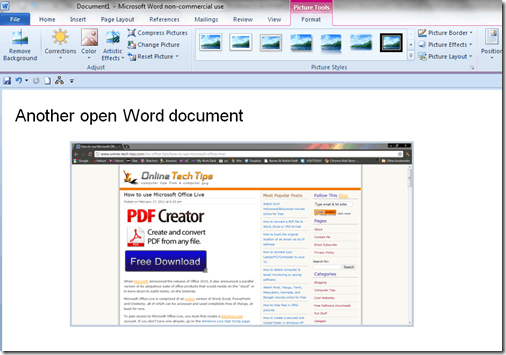
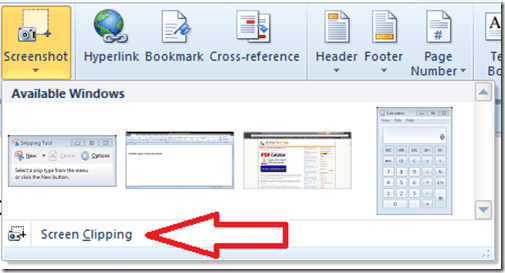
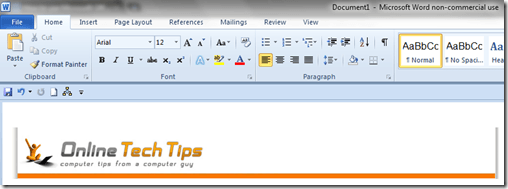
| Use the New Screenshot Feature in Word 2010 Posted: 21 Feb 2011 04:31 AM PST By now a lot of people know that Microsoft added the screen capture feature, "Snipping Tool" to Windows Vista and then improved upon that with Windows 7; what many people may not know however, is that Microsoft also added a screen capturing feature to Word 2010, called, appropriately enough, Screenshot. But recognizing that there was little point in simply reproducing what the Snipping Tool does, Microsoft made the Screenshot feature in Word behave differently. To access the Screenshot feature, click Insert on the main ribbon menu; the Screenshot icon is at the near midway point: Click once on the Screenshot icon and you'll get a small dropdown that displays tiny replicas of your currently open windows: Note: Windows that are minimized will not appear. The tiny window replicas are your top choice, they allow you to capture a screen shot of any currently open window (Internet browser, applications, etc.) Note: In the above image, Windows Clipping tool, another open Word document, a web page and Windows Calculator are shown. Selecting one of the tiny replica screens causes a screen capture of that window to be inserted into your document at the current position. Here a web page has been inserted into a Word document: This screen capture technique contrasts sharply with the long process of other screen capturing tools whereby you have to leave your Word document, capture the part of the screen you're after, save it as a file on your hard drive, then return to your document and then insert it as a Picture. And this is exactly why Microsoft chose to add the facility directly to Word; to make it easier and faster for Word users to capture screen shots. Not only don't you have to do all that, but Word gives you a way to capture a window without having to draw rectangles etc. It grabs images automatically from border to border. Note: Only the portion of the open window that is being viewed is actually captured. If you click the lower option on the Screenshot icon; Screen Clipping… Word will automatically minimize so that you can go after what it is you want to capture, the screen will become slightly cloudy and your cursor will become a cross. Move to a place on the screen near what you want to capture, then click and hold down the left mouse button; then slide the mouse to another location, creating a rectangle over the part of the screen you are after. Once you've got your rectangle the way you want it, let go of the mouse button. You'll be taken back to where you were in Word, and the image you captured will be inserted into your document at the current position. Either way you use it, the image that is inserted into your document is a standard Word object, which means you can alter its attributes just as you would an inserted photograph or other piece of artwork. In short, the new Screenshot feature in Word 2010 can be used instead of other screen capture utilities to grab screenshots quickly and easily.
Related postsCopyright © 2007 Online Tech Tips. Aseem Kishore (digitalfingerprint: a59a56dce36427d83e23b501579944fcakmk1980 (209.85.224.80) ) Post from: |
| You are subscribed to email updates from Online Tech Tips To stop receiving these emails, you may unsubscribe now. | Email delivery powered by Google |
| Google Inc., 20 West Kinzie, Chicago IL USA 60610 | |


 5:20 AM







0 comments:
Post a Comment