


 5:41 AM

Computer Tips From A Computer Guy |

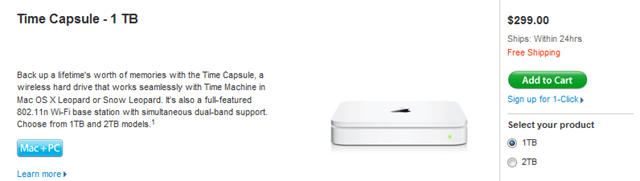
| How to Make Your Own Time Capsule and Backup With Time Machine for Cheap Posted: 20 Dec 2010 04:38 AM PST The best way to backup your data on a Mac is to use Apple's Time Machine software. It's simple to use, and already built into OS X Leopard and Snow Leopard. However, many people believe that to use Time Machine, you have to have an Apple Time Capsule, which makes sense. Apple brands all of their products very intelligently. However, you can make your own Time Capsule for under $100, which will work just as good as a more expensive Apple Time Capsule.
Things you need:
and
or
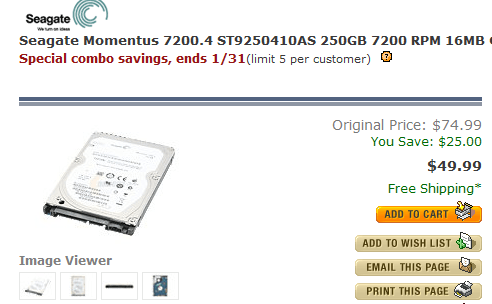
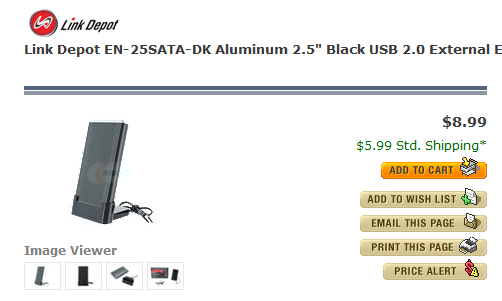
*If you have an extra laptop hard drive laying around (maybe from an old computer), you can save yourself approximately $60.* *External hard drive enclosures are dirt cheap. You can get one for under $15, shipping included.*
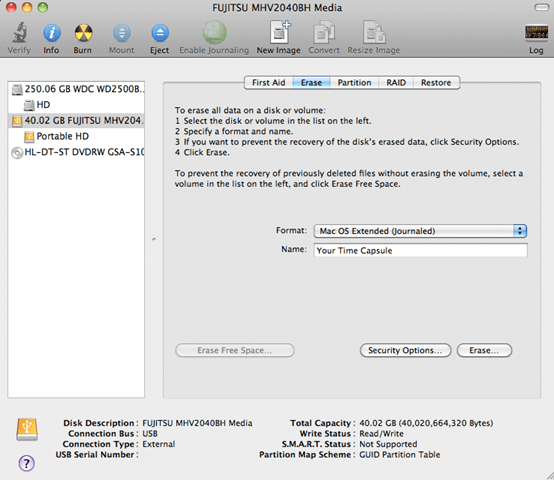
Assembling your homemade Time Capsule - Open your external hard drive enclosure. Every hard drive enclosure works a bit different. The majority of them open up by unscrewing a couple of screws on one end. - Slide in the internal hard drive. - Close the external enclosure. If you are using an external hard drive, such as a Western Digital Passport, you don't need to do anything. Format your external hard drive Plug your external hard drive into an available USB slot on your Mac. OS X will automatically detect it. Open up Disk Utility using the path: Finder > Applications > Utilities Disk Utility. Select your external hard drive from the left-hand side drives list. Click the Erase tab. Select Mac OS Extended (Journaled) from the Format: drop down. Click the Erase button to erase and format your drive.
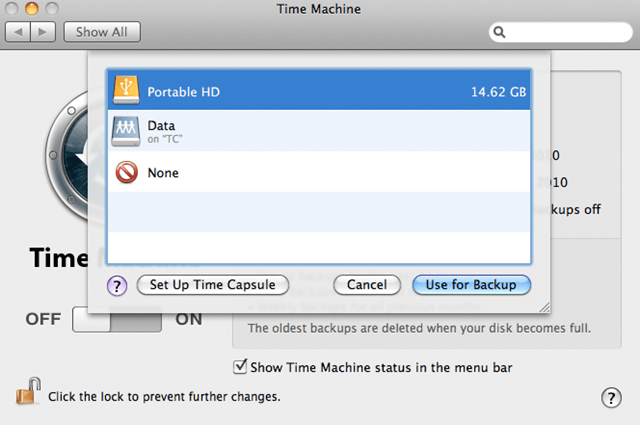
Setting up Time Machine Open up Time Machine preferences using the path Finder > Applications > System Preferences > Time Machine. Click the Select Disk… button. Select your external hard drive from the drop down menu and click Use for Backup.
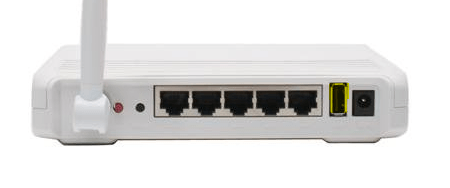
That's all there is to backing up your data on a Mac. Time Machine will now backup to the external hard drive that you created. By default, Time Machine backs up your data every hour. This is not really necessary. Go ahead and slide the slider to the OFF position within the Time Machine preferences window. That way, Time Machine will only backup data when you decide to. Also, make sure to check the option for Show Time Machine status in the menu bar. To create a new updated backup, click the Time Machine icon (next to the clock) on the desktop, and select Back Up Now from the drop down menu. Wireless Backups If you want the ability to backup your Mac without having to connect your external hard drive, you can do wireless backups. For wireless backups, you will need a router that has the ability to use external hard drives (has a USB port on the back of it). If you don't have one, you can get them for around $40.
Related postsCopyright © 2007 Online Tech Tips. Aseem Kishore (digitalfingerprint: a59a56dce36427d83e23b501579944fcakmk1980 (209.85.224.85) ) Post from:
|
| Turn Your Laptop, Netbook, or Desktop into an eBook Reader Posted: 20 Dec 2010 03:17 AM PST So maybe Amazon Kindles and iPads are not your thing. However, you do take your laptop with you to school, work, when traveling, etc. If you're looking to get some reading time in, you can easily turn your laptop, netbook, or desktop into a great eBook reader. The process is very easy and can add a sweet interface to your reading collection, rather than a bunch of PDF files and Adobe Reader.
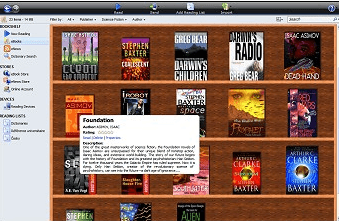
Step 1 – Get some eBook softwareAdobe Reader is a great application for viewing PDF files quickly and easily. However, it doesn’t offer the best interface for organizing several items, such as an eBook collection. You can get the true eBook reader experience on your PC by adding some specialty eBook software. There are four main eBook reading apps that should do the job nicely: Barnes and Nobles eBook Reader, Amazon Kindle for PC, Calibre, and Mobipocket Reader Desktop. They are all great, free applications that offer their own level of uniqueness and user interface.
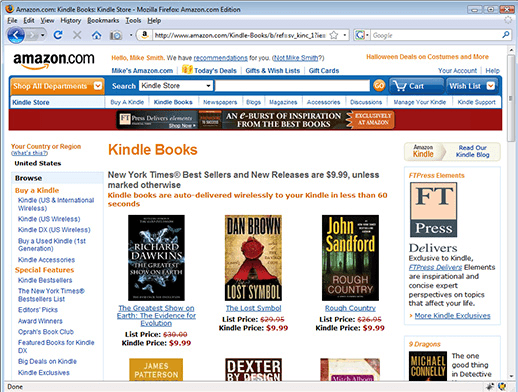
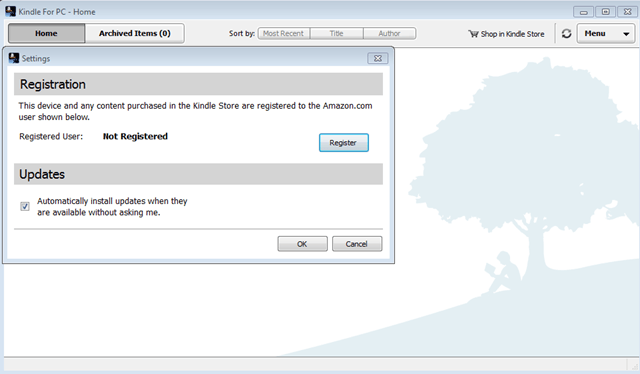
Mobipocket Reader Desktop offers the best customization options and slickest layout. It kind of looks like an "iTunes for eBooks." But for this tutorial, we will be demonstrating the Amazon Kindle for PC, as it uses a unique format for eBooks and is the simplest to use. You can download Amazon Kindle for PC here. Upon download, launch the installer and install Amazon Kindle for PC onto your computer. If you already have an Amazon account, and have purchased eBooks before, you can register Kindle for PC and import the books that you got off of Amazon.
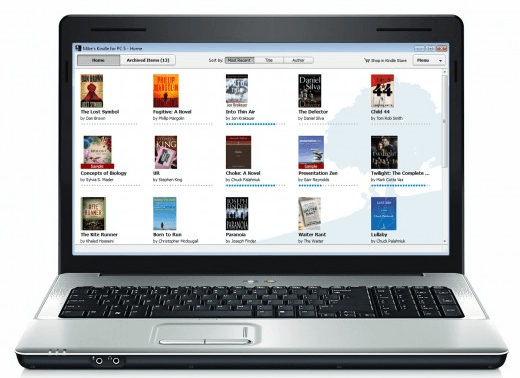
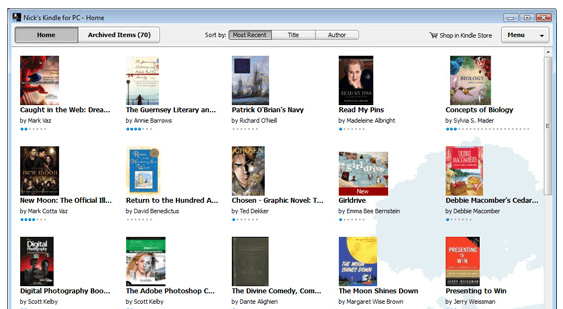
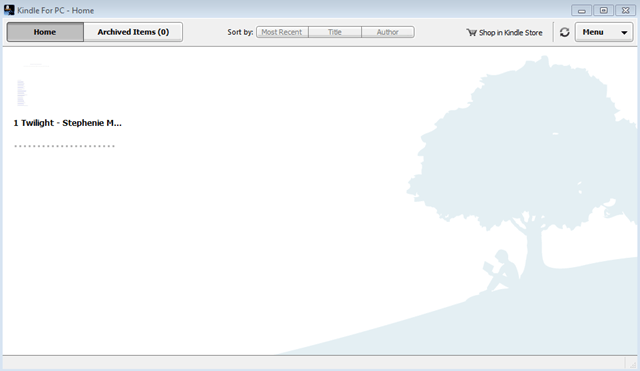
Step 2 – Launch software and collect eBooksAfter you have Kindle for PC installed and ready to go, go ahead and double click the Kindle for PC icon to get started. Upon startup, you will notice that Kindle for PC has a very simple interface. There are basically two screens to choose from: Home and Archived Items. You will also notice that there are no eBooks in there yet. Thus, you need to add some.
Navigate to the path Start > Documents > My Kindle Content. This folder is where all of your eBooks for Kindle for PC are stored. If you have any MOBI formatted eBooks on your computer, go ahead and drag them into this folder and relaunch Kindle for PC. Upon doing so, the eBooks should immediately appear in your Home library.
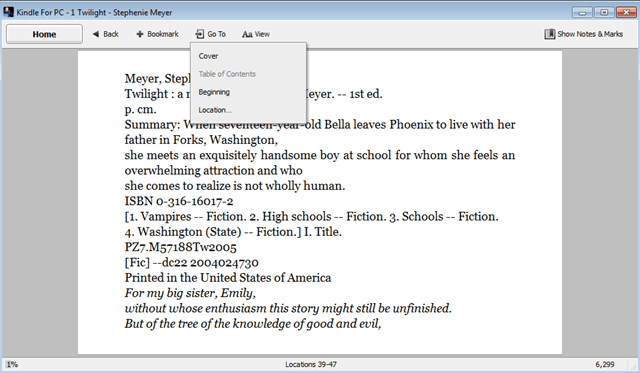
Step 3 – Reading eBooksYou should now be good to go with reading books. Double click your eBook to open it up. Use the arrow keys to flip to different pages. Also note, you can use the View button to change the font size. You can also jump to specific chapters and locations using the Go To button. Finally, the Bookmark button simply saves your spot in the book so that you can resume reading at a later time.
Step 4 – Converting PDF eBooksOne problem with using the Kindle for PC software is that it requires MOBI eBooks. It won't read PDFs. Even if you try dragging a PDF eBook into the My Kindle Content folder, it still will not show up in the Home library screen. However, you can download the application Auto Kindle which will convert any PDF to MOBI. From there, you can read them using Kindle for PC, or transfer them to an actual Kindle if you own one.
Related postsCopyright © 2007 Online Tech Tips. Aseem Kishore (digitalfingerprint: a59a56dce36427d83e23b501579944fcakmk1980 (209.85.224.85) ) Post from:
|


| You are subscribed to email updates from Online Tech Tips To stop receiving these emails, you may unsubscribe now. | Email delivery powered by Google |
| Google Inc., 20 West Kinzie, Chicago IL USA 60610 | |
0 comments:
Post a Comment